In the world of art, achieving realistic skin tones is a challenge that artists have wrestled with for centuries.
One technique that has stood the test of time, particularly in the creation of lifelike skin tones, is the use of Verdaccio.
This blog post delves into the essence of Verdaccio, exploring its origins, its application in art, and how artists can leverage this technique to enhance their portrayal of human figures.
2. The Purpose of Verdaccio in Art
3. How to Use Verdaccio to Create Skin Tones
1. What is Verdaccio?
Verdaccio is an underpainting technique that originated during the Renaissance.
It involves the use of a greenish-gray mixture to create a tonal foundation upon which layers of color can be applied.
The term itself is derived from the Italian word for green, reflecting the hue’s central role in the technique.
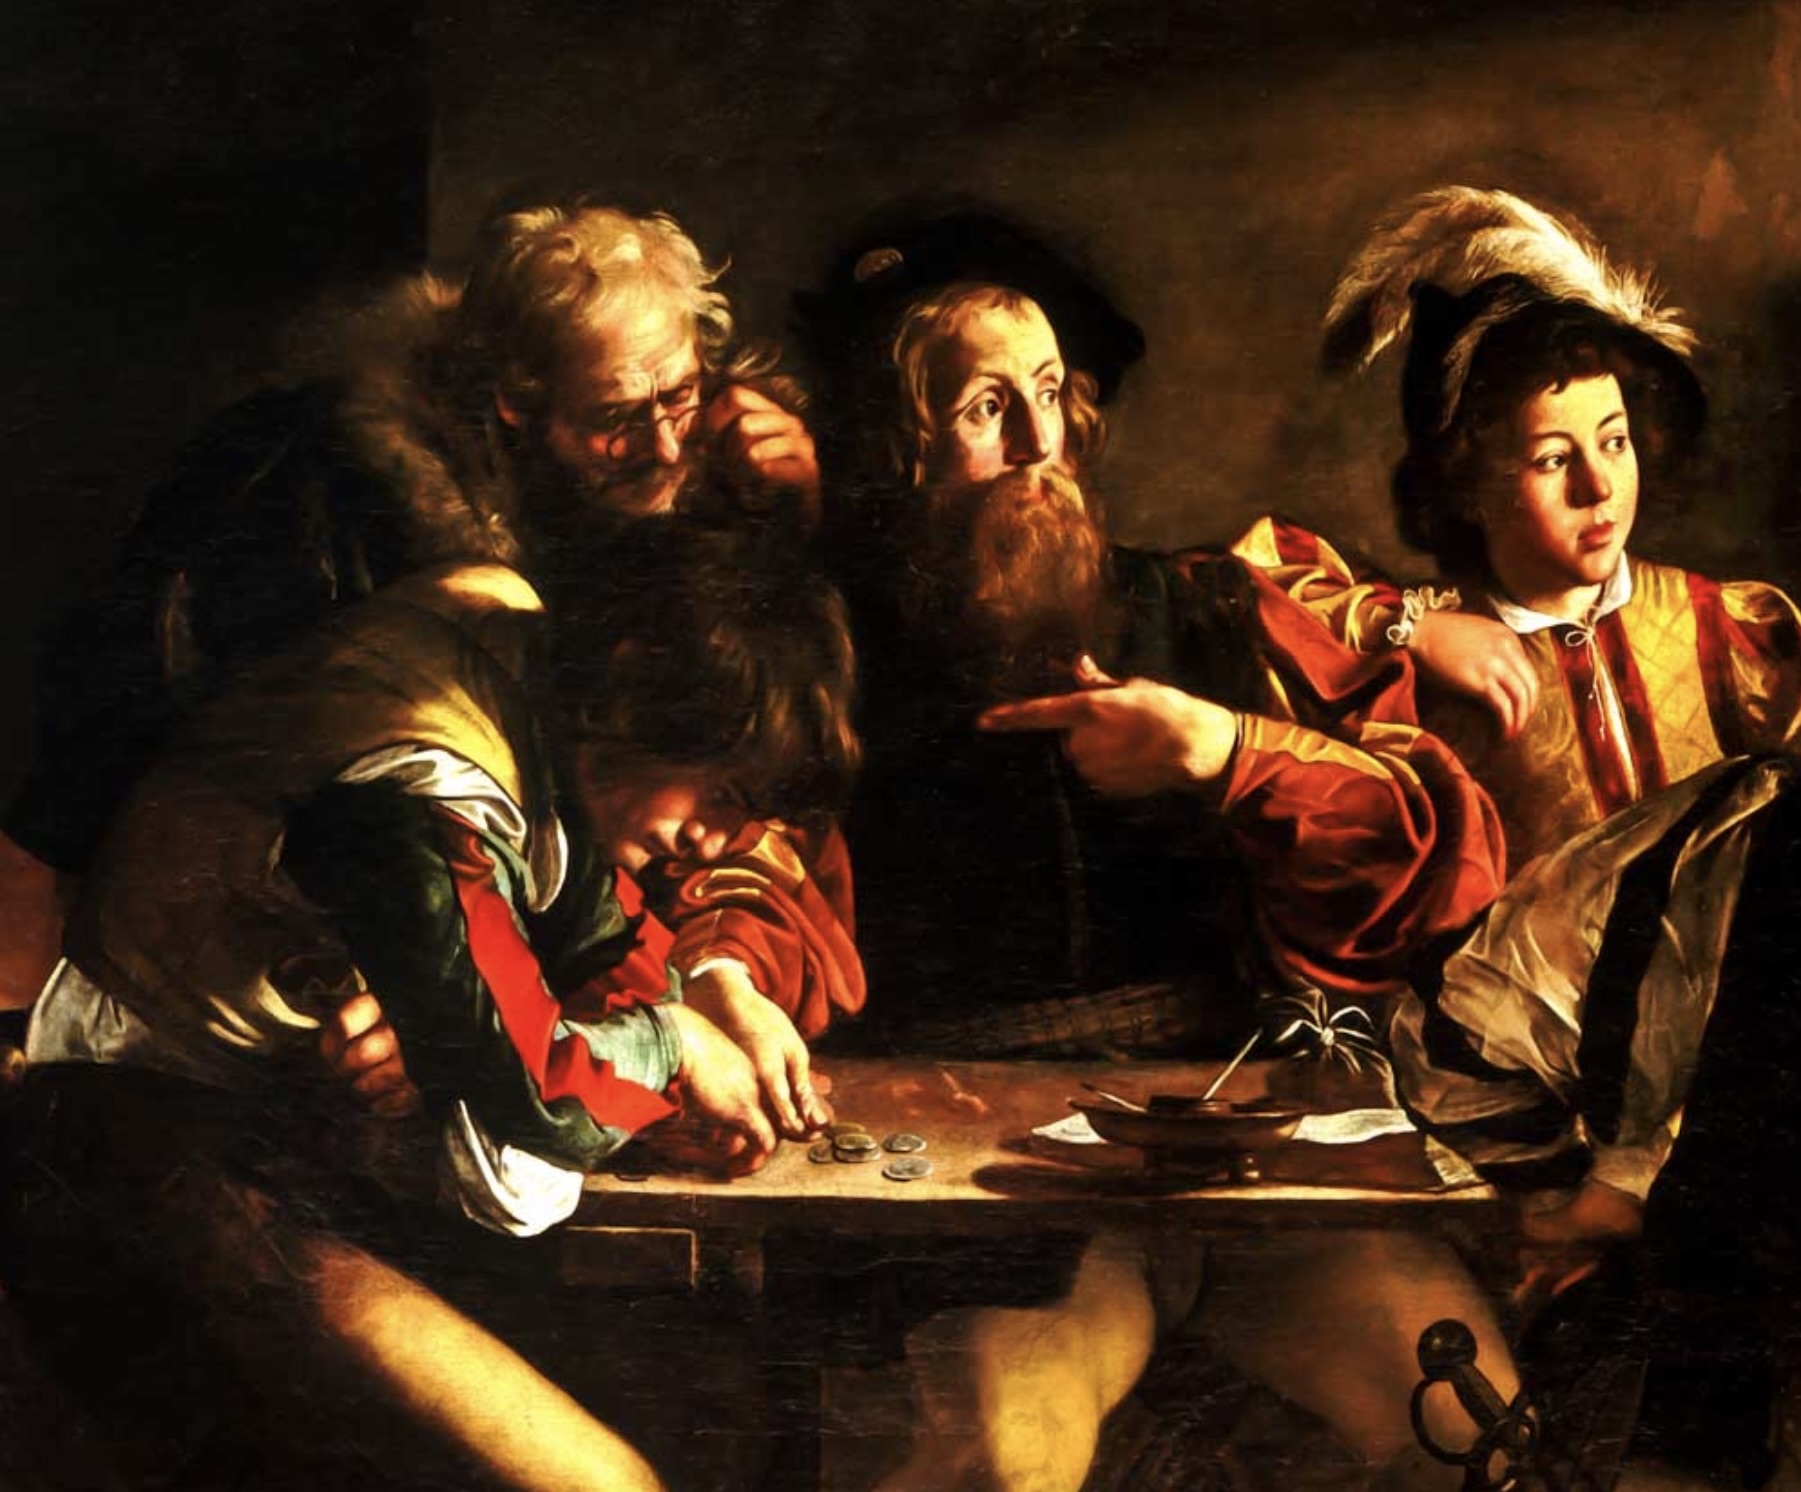
Caravaggio(Michelangelo Merisi) – The Calling of Saint Matthew (1599-1600)
2. The Purpose of Verdaccio in Art
The primary purpose of Verdaccio is to provide a harmonious base that simulates the cool tones beneath the skin’s surface.
Human skin is not merely composed of warm reds, yellows, and browns; beneath the outer layers lie cooler tones, veins, and shadows that contribute to the skin’s overall appearance.
Architectural details in frescoes were often left in the pure Verdaccio coloring, hence we are able to still see evidence of it today in works such as Michelangelo’s Sistine Chapel frescoes.
But what does Verdaccio have to do with modern oil painting techniques?
As any artist can tell you, achieving realistic flesh tones is one of the most challenging aspects of painting in color.
By starting with a Verdaccio underpainting, artists can create a more nuanced and realistic portrayal of skin by gradually building up layers of color.
This method allows for a more controlled approach to depicting light and shadow, as well as the complex subtleties of human flesh, this can make the skin tone “pop” in a painting.
3. How to Use Verdaccio to Create Skin Tones
Step 1: Preparing the Verdaccio Mixture
Begin by mixing your Verdaccio tone.
Many artists prefer Mars Black to Ivory Black because Ivory Black can have a “bluish” tint when mixed with white.
Mars Black is a warmer black and also less oily, so it will dry faster than Ivory Black.
Some artists will also add or use Chrome Oxide Green mixed with Mars Black for their Verdaccio, to achieve a more intense greenish color.
If you like to save time mixing paints. Many stores now sell pre-made Verdaccio colors, or another paint called “Greenish Umber” which works very well as a Verdaccio.
Green is the complementary color to red, and placing these two hues close together or on top of each other in a painting can create dynamic effects.
The greenish-gray of the Verdaccio will neutralize the skin tones, preventing them from appearing overly saturated and contributing to a more lifelike appearance.
This underpainting serves as a neutral middle ground, helping artists to establish values and forms before applying more vibrant skin tones.
Step 2: Applying the Verdaccio Underpainting
Apply the Verdaccio mixture to your canvas or painting surface, focusing on establishing the values and forms of your composition.
This stage is not about adding detail but rather setting the stage for the layers to come. Pay particular attention to the areas of shadow and light, as these will guide your application of skin tones later on.
Did You Know…?
Underpainting historically has sometimes been called “dead coloring” as it shows the flesh of a figure or body before the color has been added to it.
Often a figure that was meant to be dead or dying in a painted image, such as a crucified Jesus, was left in the “dead coloring” itself or with only very little flesh tones added to it.
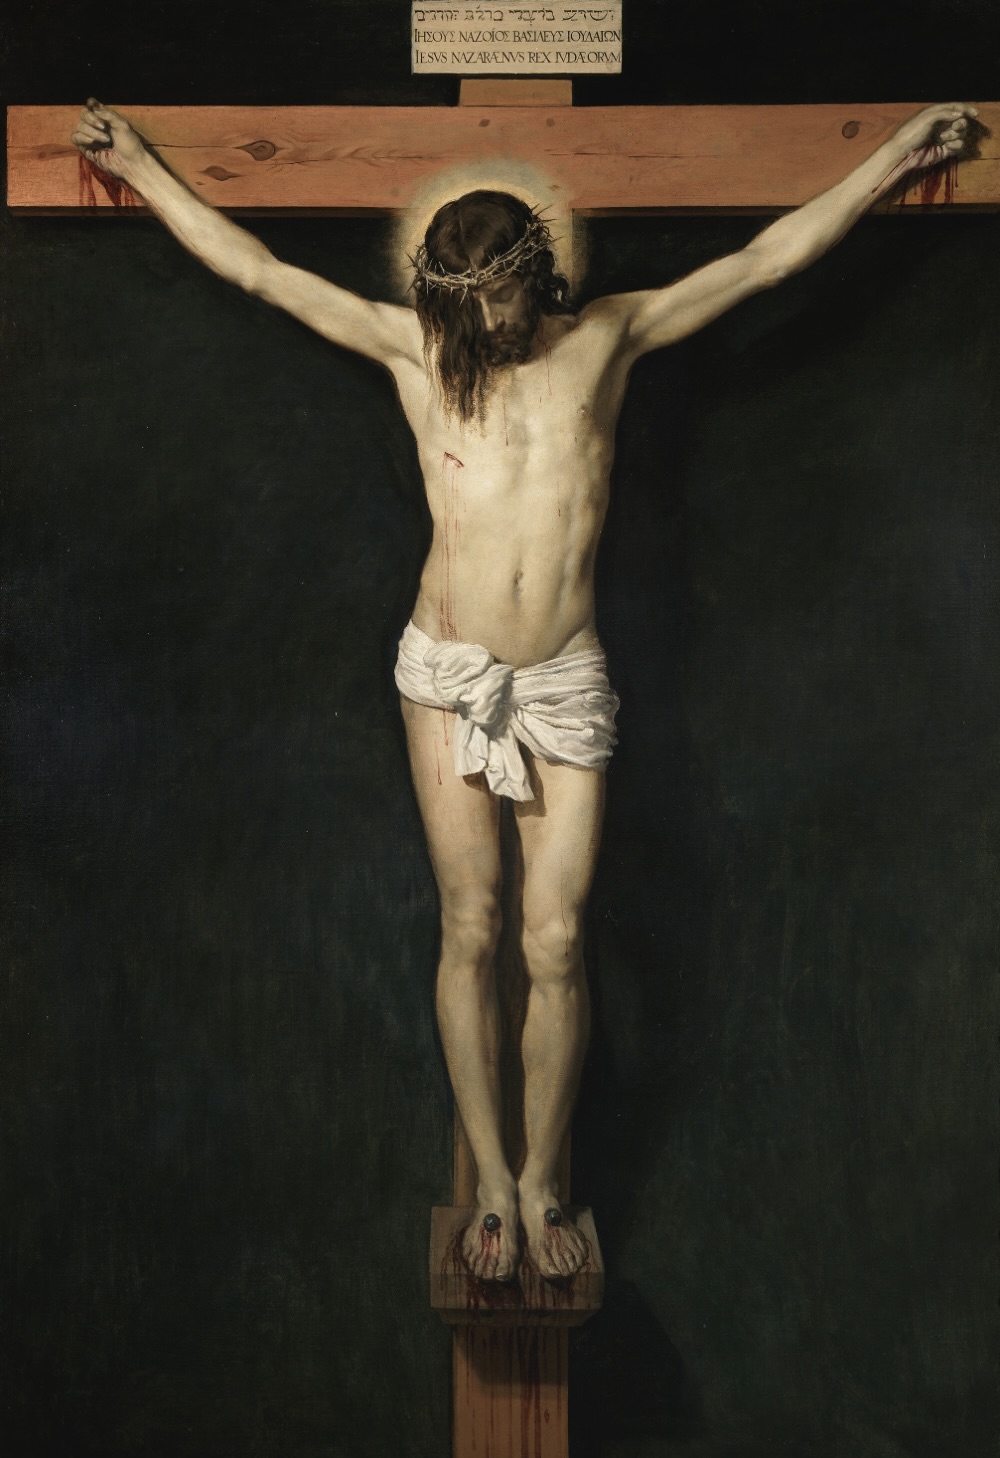
Christ Crucified by Diego Velázquez
Step 3: Building Up Skin Tones
Once the Verdaccio layer is dry, apply skin tone layers over it. Start with the shadows, using transparent layers of cool tones to accentuate the depth created by the Verdaccio.
Gradually add warmer tones, blending them into the cooler shadows to mimic the natural gradations of skin.
Leonardo’s Mona Lisa, with her enigmatic expression, is a testament to his skill in layering and subtle color transitions. Da Vinci’s sfumato technique, involving the blending of colors and tones, shares principles with Verdaccio in its approach to creating the illusion of depth, volume, and texture in skin.
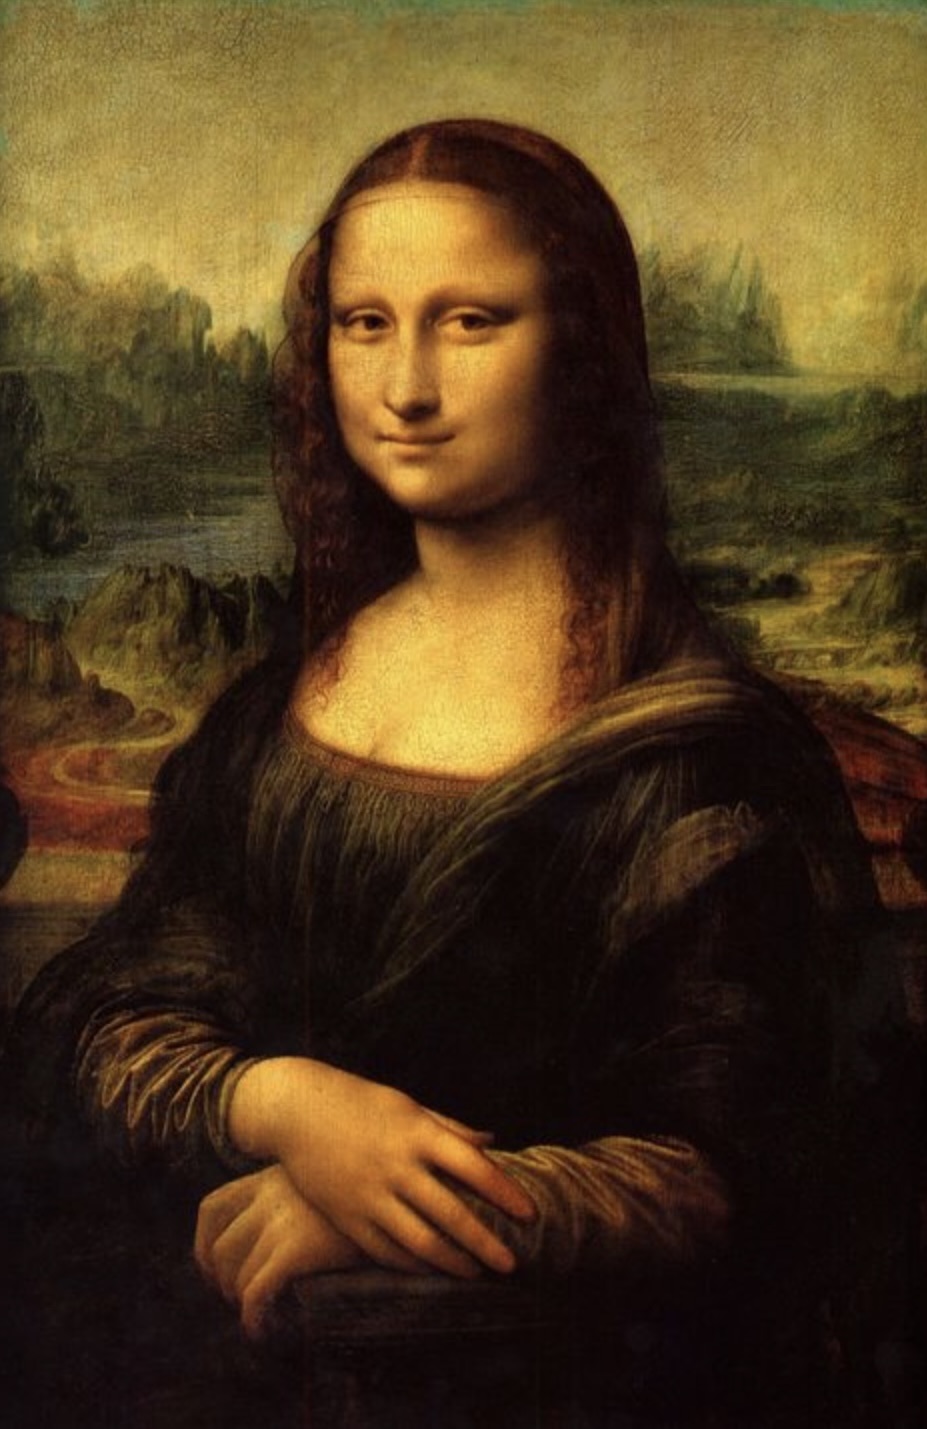
Leonardo da Vinci – The Mona Lisa (1503-1506)
Step 4: Refining and Detailing
As you continue to build up the skin tones, refine your details and contrasts. Use lighter tones to highlight areas where light naturally hits the skin and darker tones to deepen the shadows. The interplay between the Verdaccio underpainting and the layers of skin tone will create a dynamic and realistic depiction of human flesh.
Let me know what you think of this post. Share with a friend if you like!