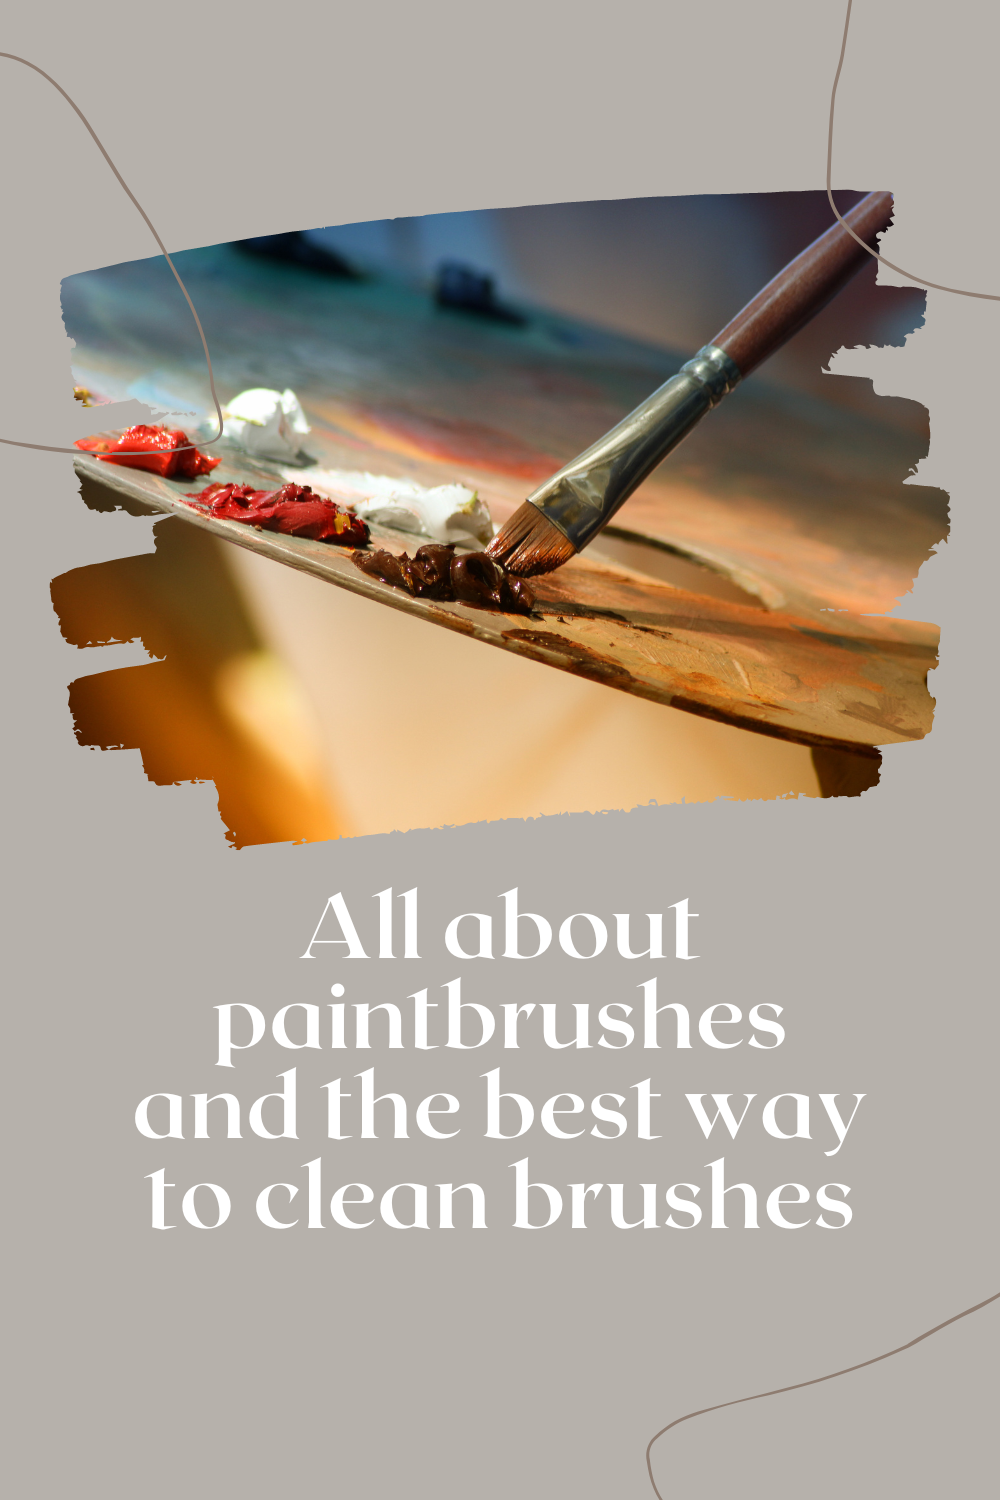
Welcome to the second part of the oil painting basics series! Today we are going to talk all about artists’ paintbrushes brushes.
I paint a lot and I have many paintbrushes that have been with me for over 5 years!
So I will show you how to properly clean and preserve your brushes as well as an introduction to paintbrushes.
Here is a simple guide to different paintbrushes:
The Different Brush Shapes
The world of artist’s brushes is incredibly diverse. Brushes come in a multitude of shapes, sizes, and materials, each with its unique characteristics and applications. Here are just a few examples of the most commonly used artist paintbrushes:
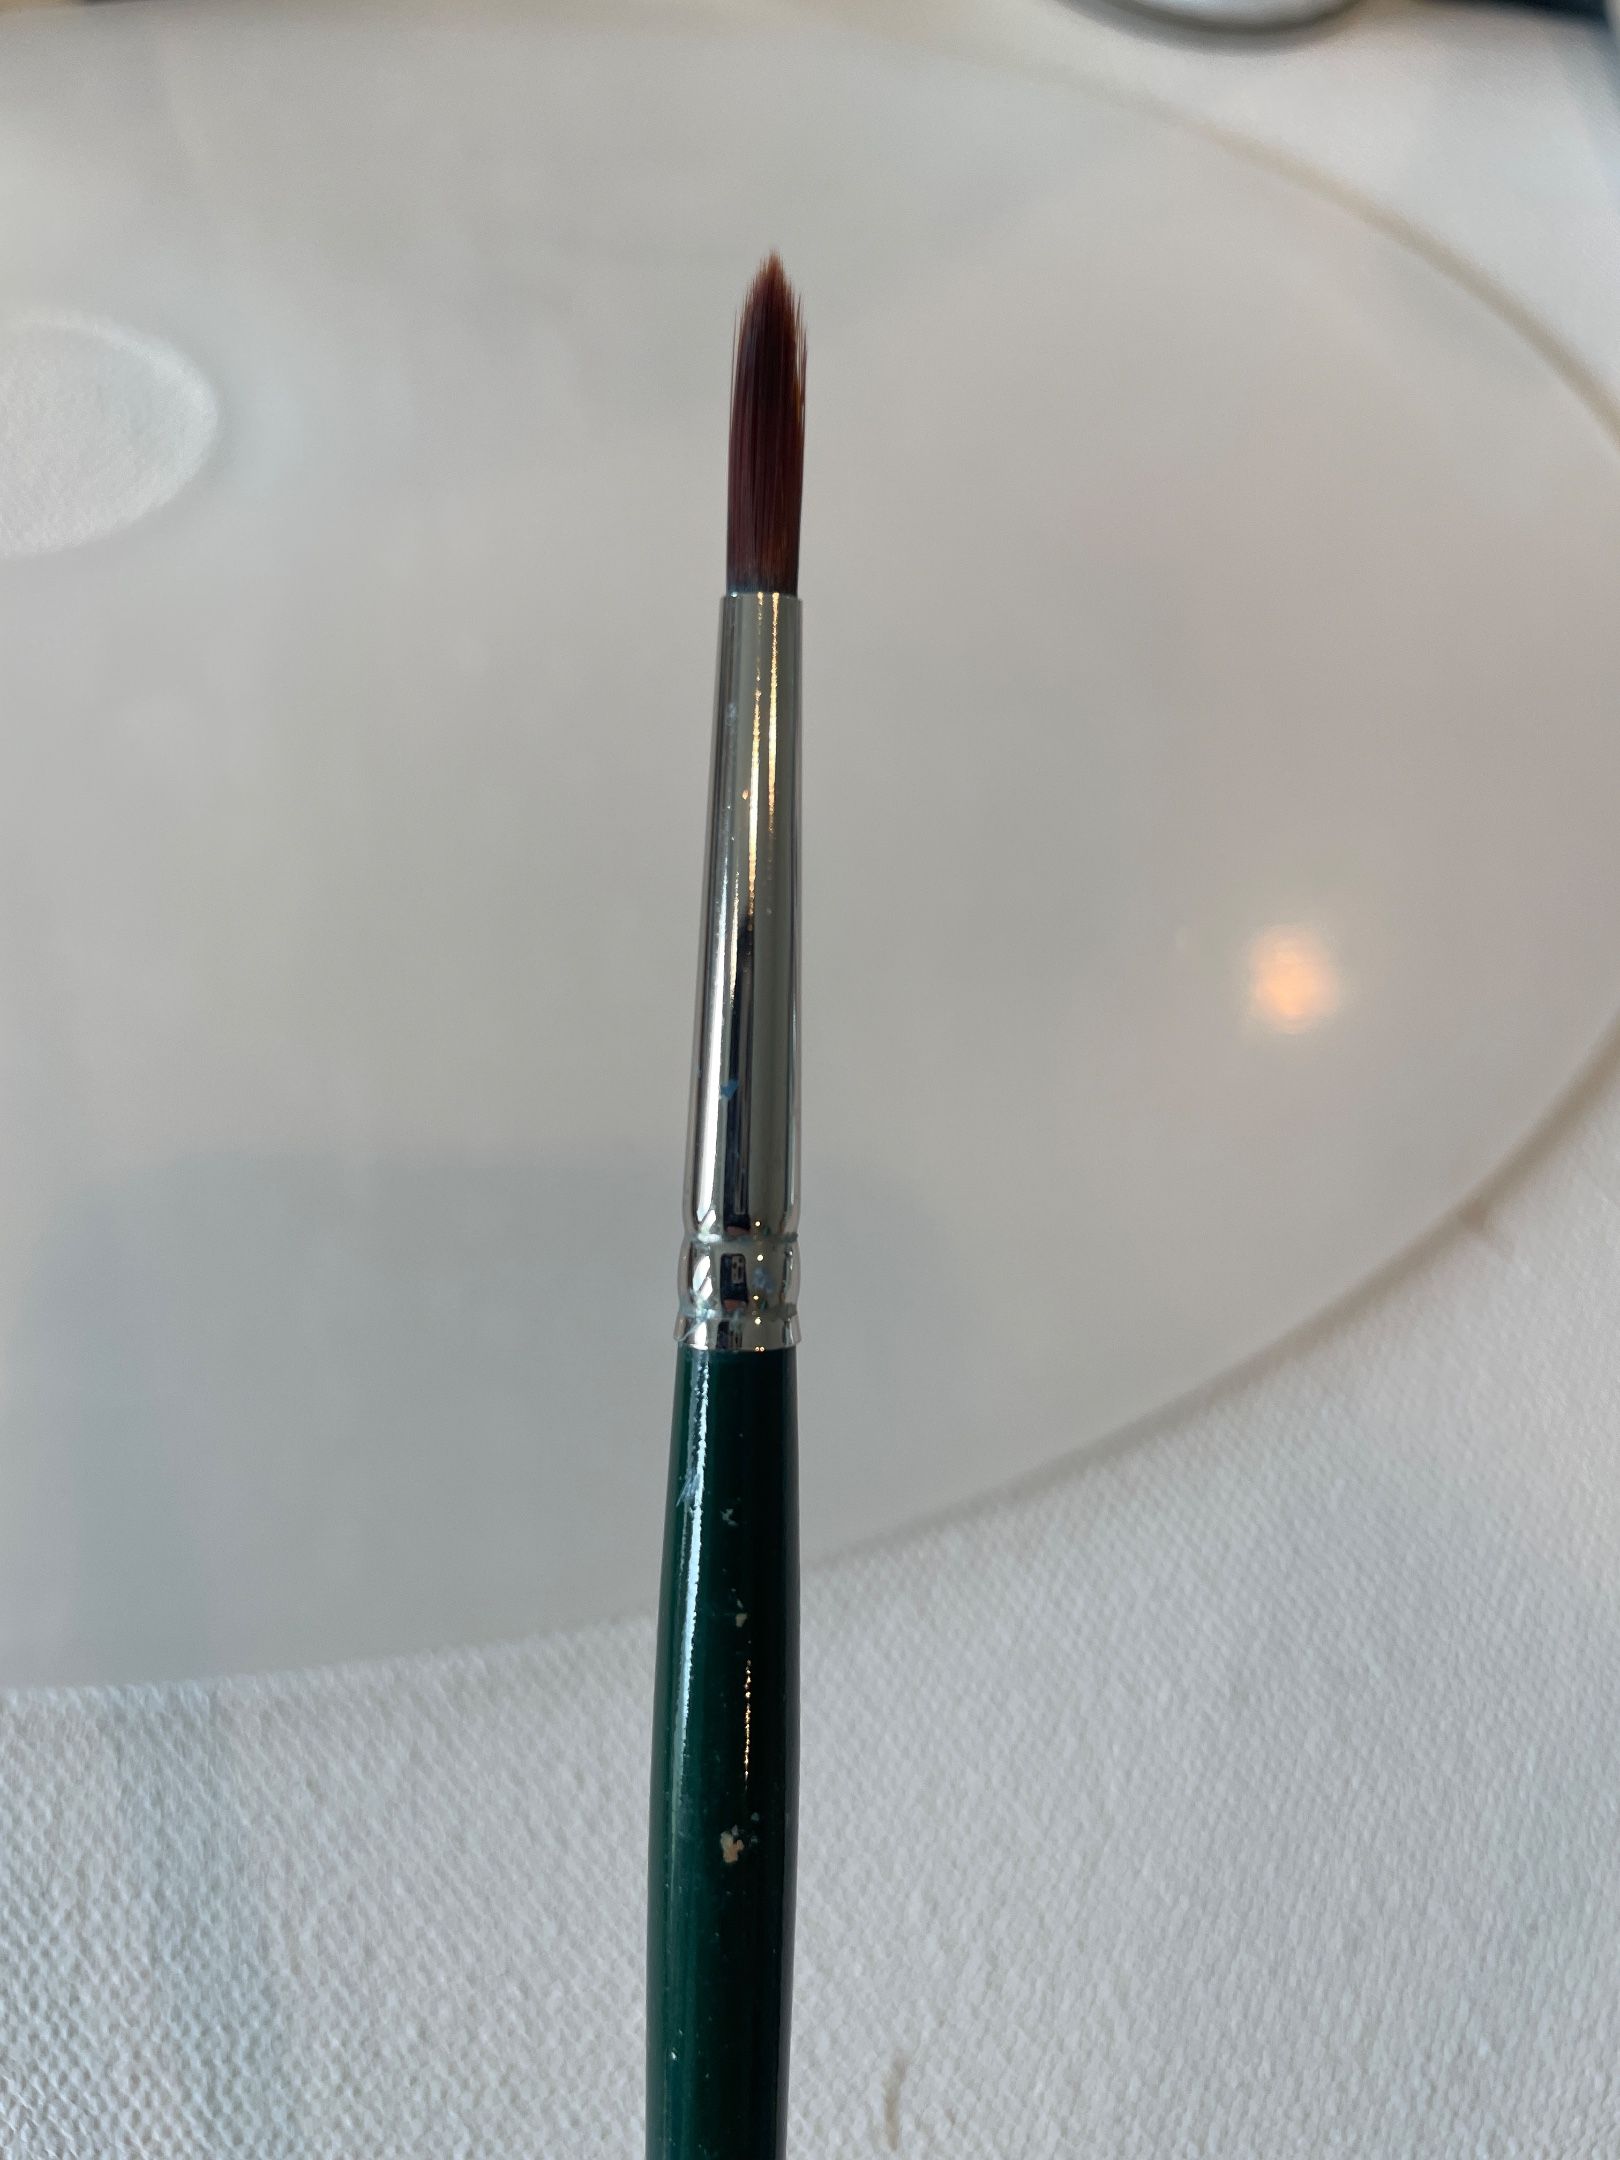
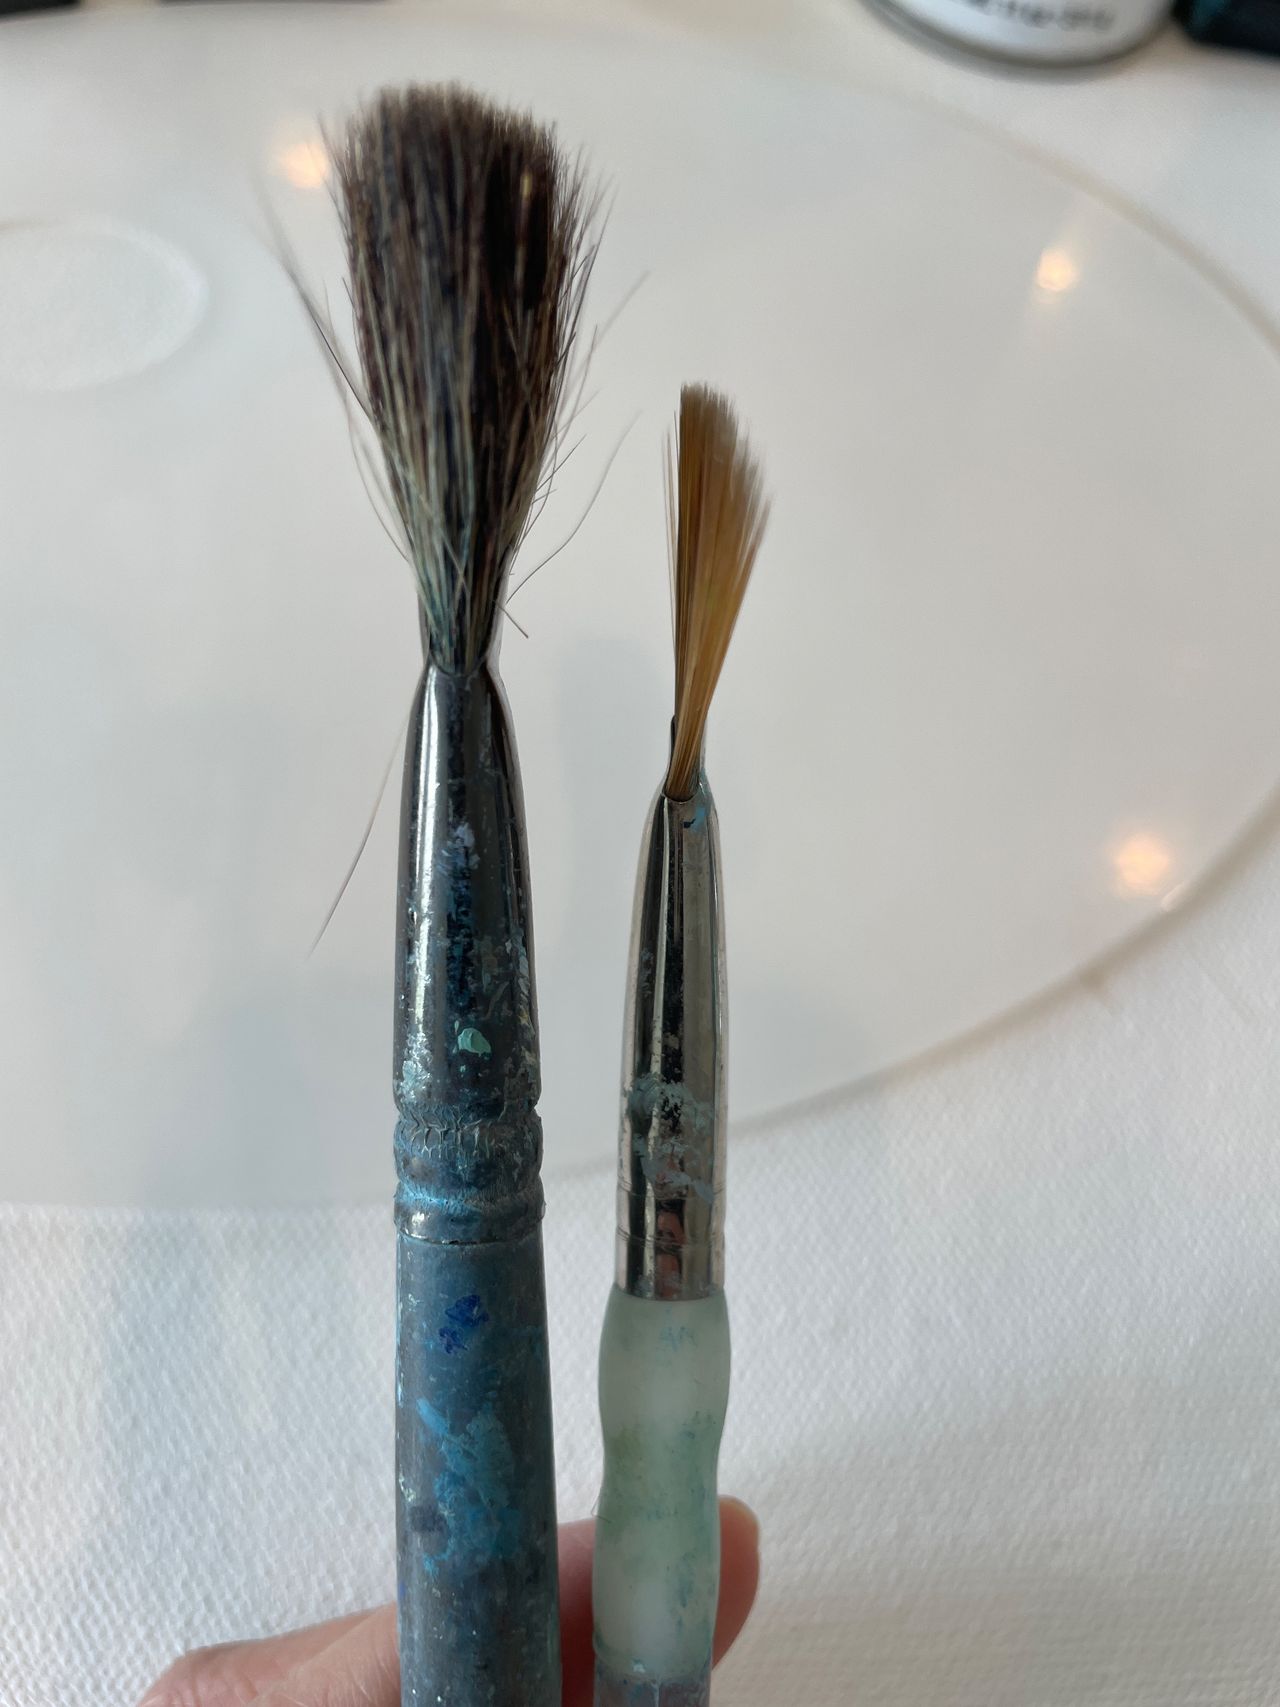
- Round Brushes: These versatile brushes are a staple for artists. Their fine point is perfect for precise details, making them essential for intricate work like portraiture.
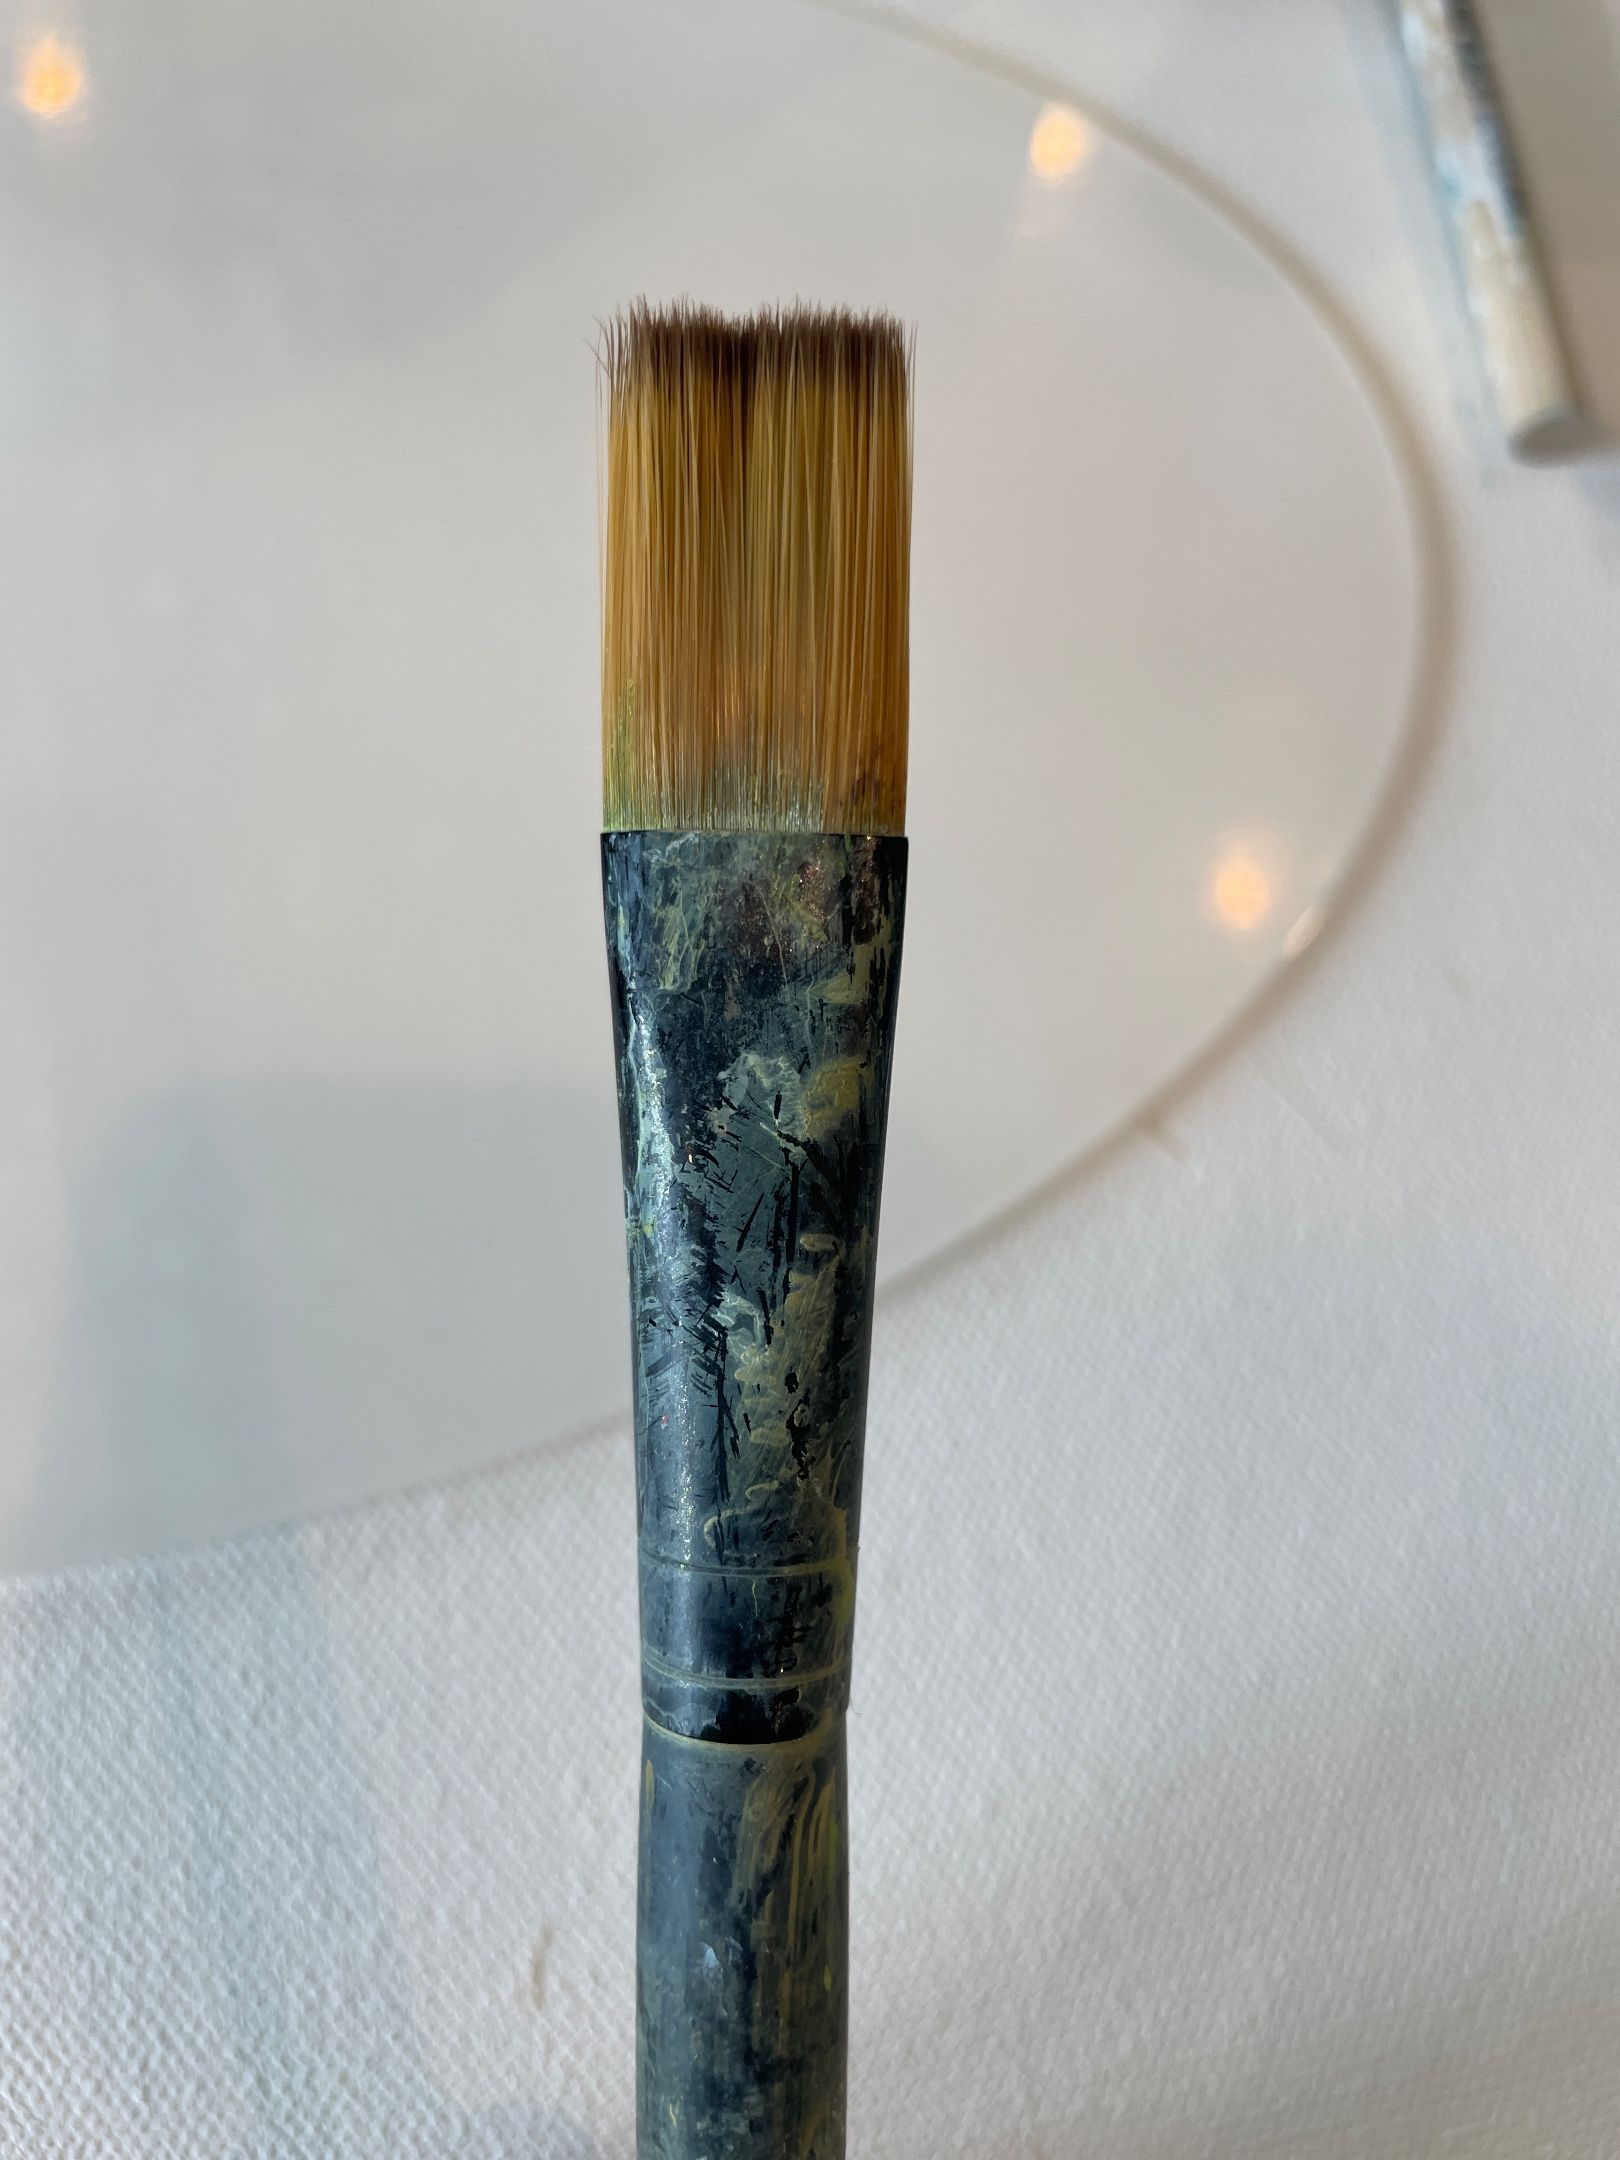
- Bright Brushes: Known for their broad, flat bristles, these brushes are great for creating sharp edges and covering large areas with bold strokes.
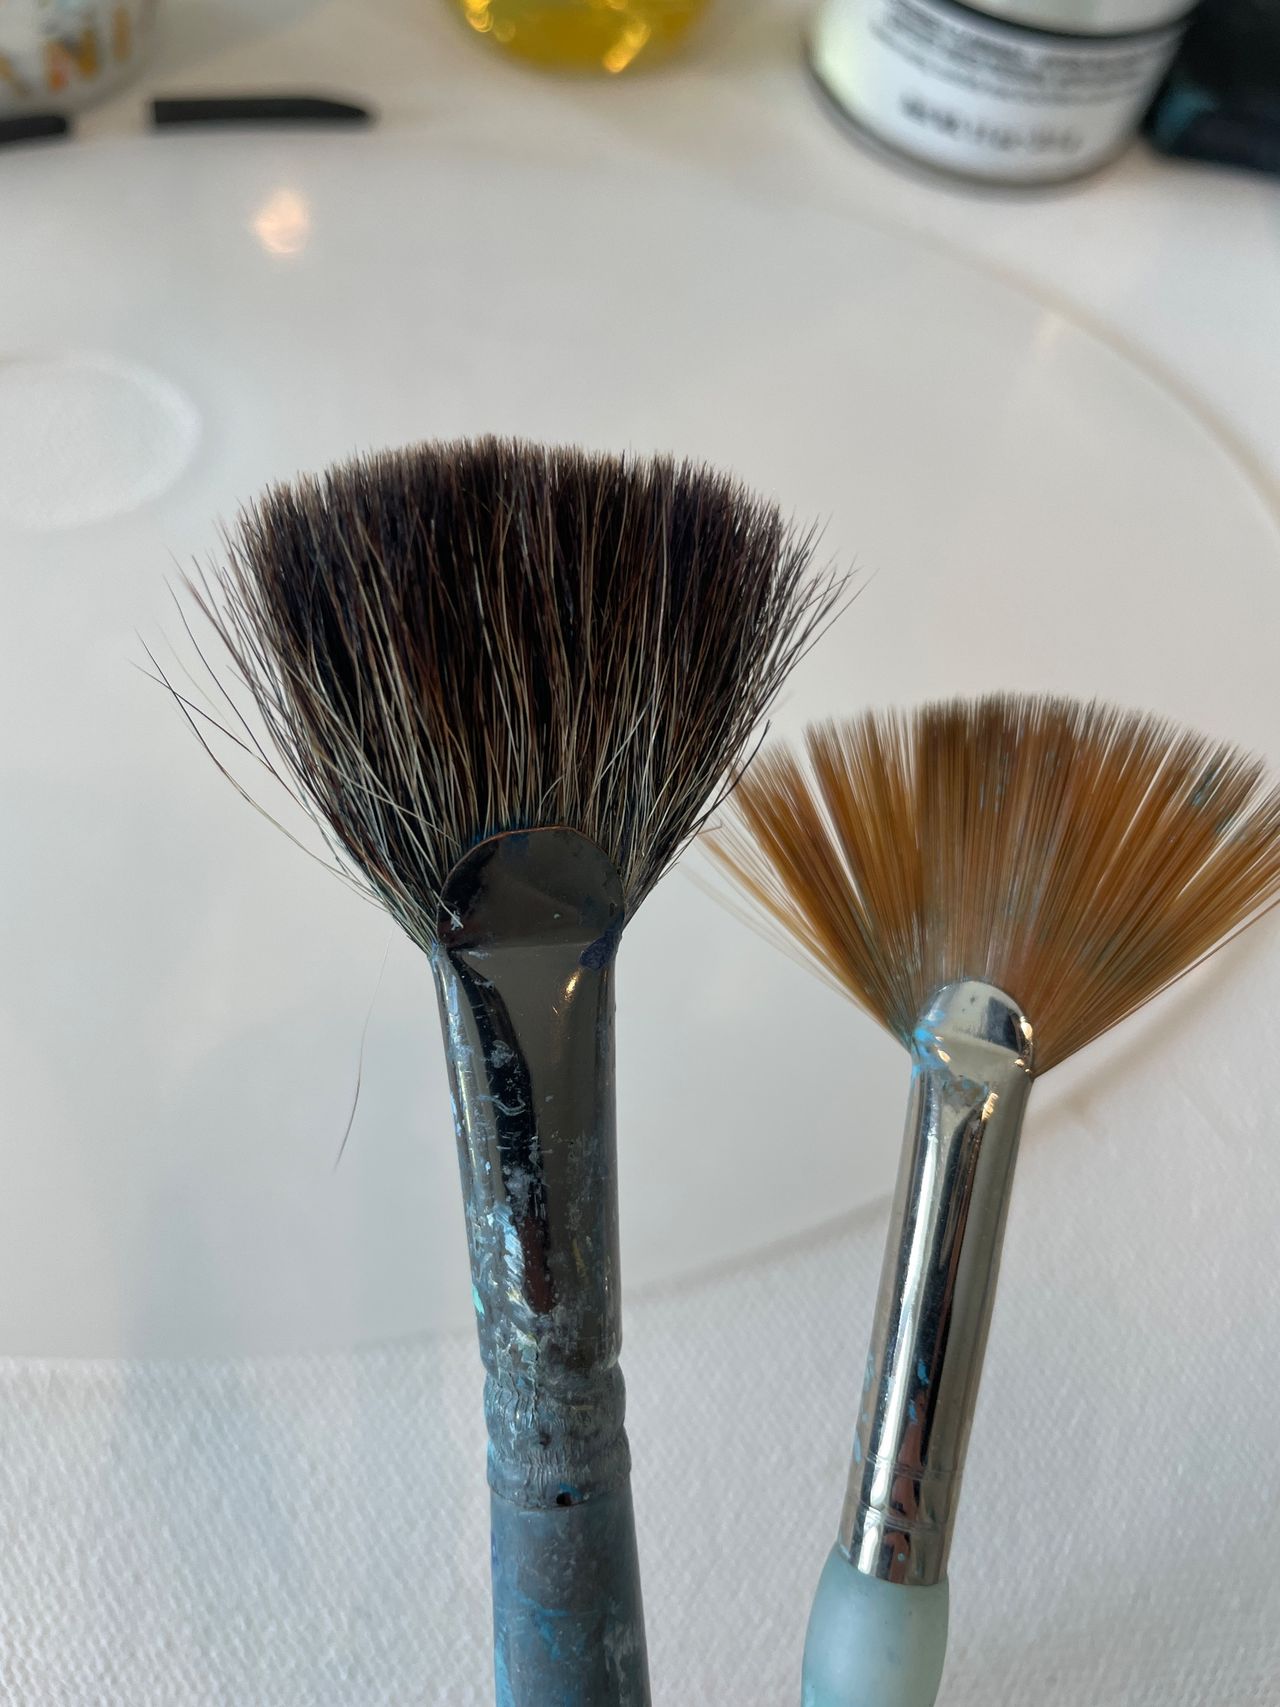
- Fan Brushes: I love fan brushes! I use two types of pan brushes to achieve different effects: the ones that are flat and stiff could be used to quickly paint tree leaves or add small water drops in seascapes. The second staple of fan brushes I use are soft and fluffy, perfect for blending skin tones and all other areas that need to be smooth and soft looking.
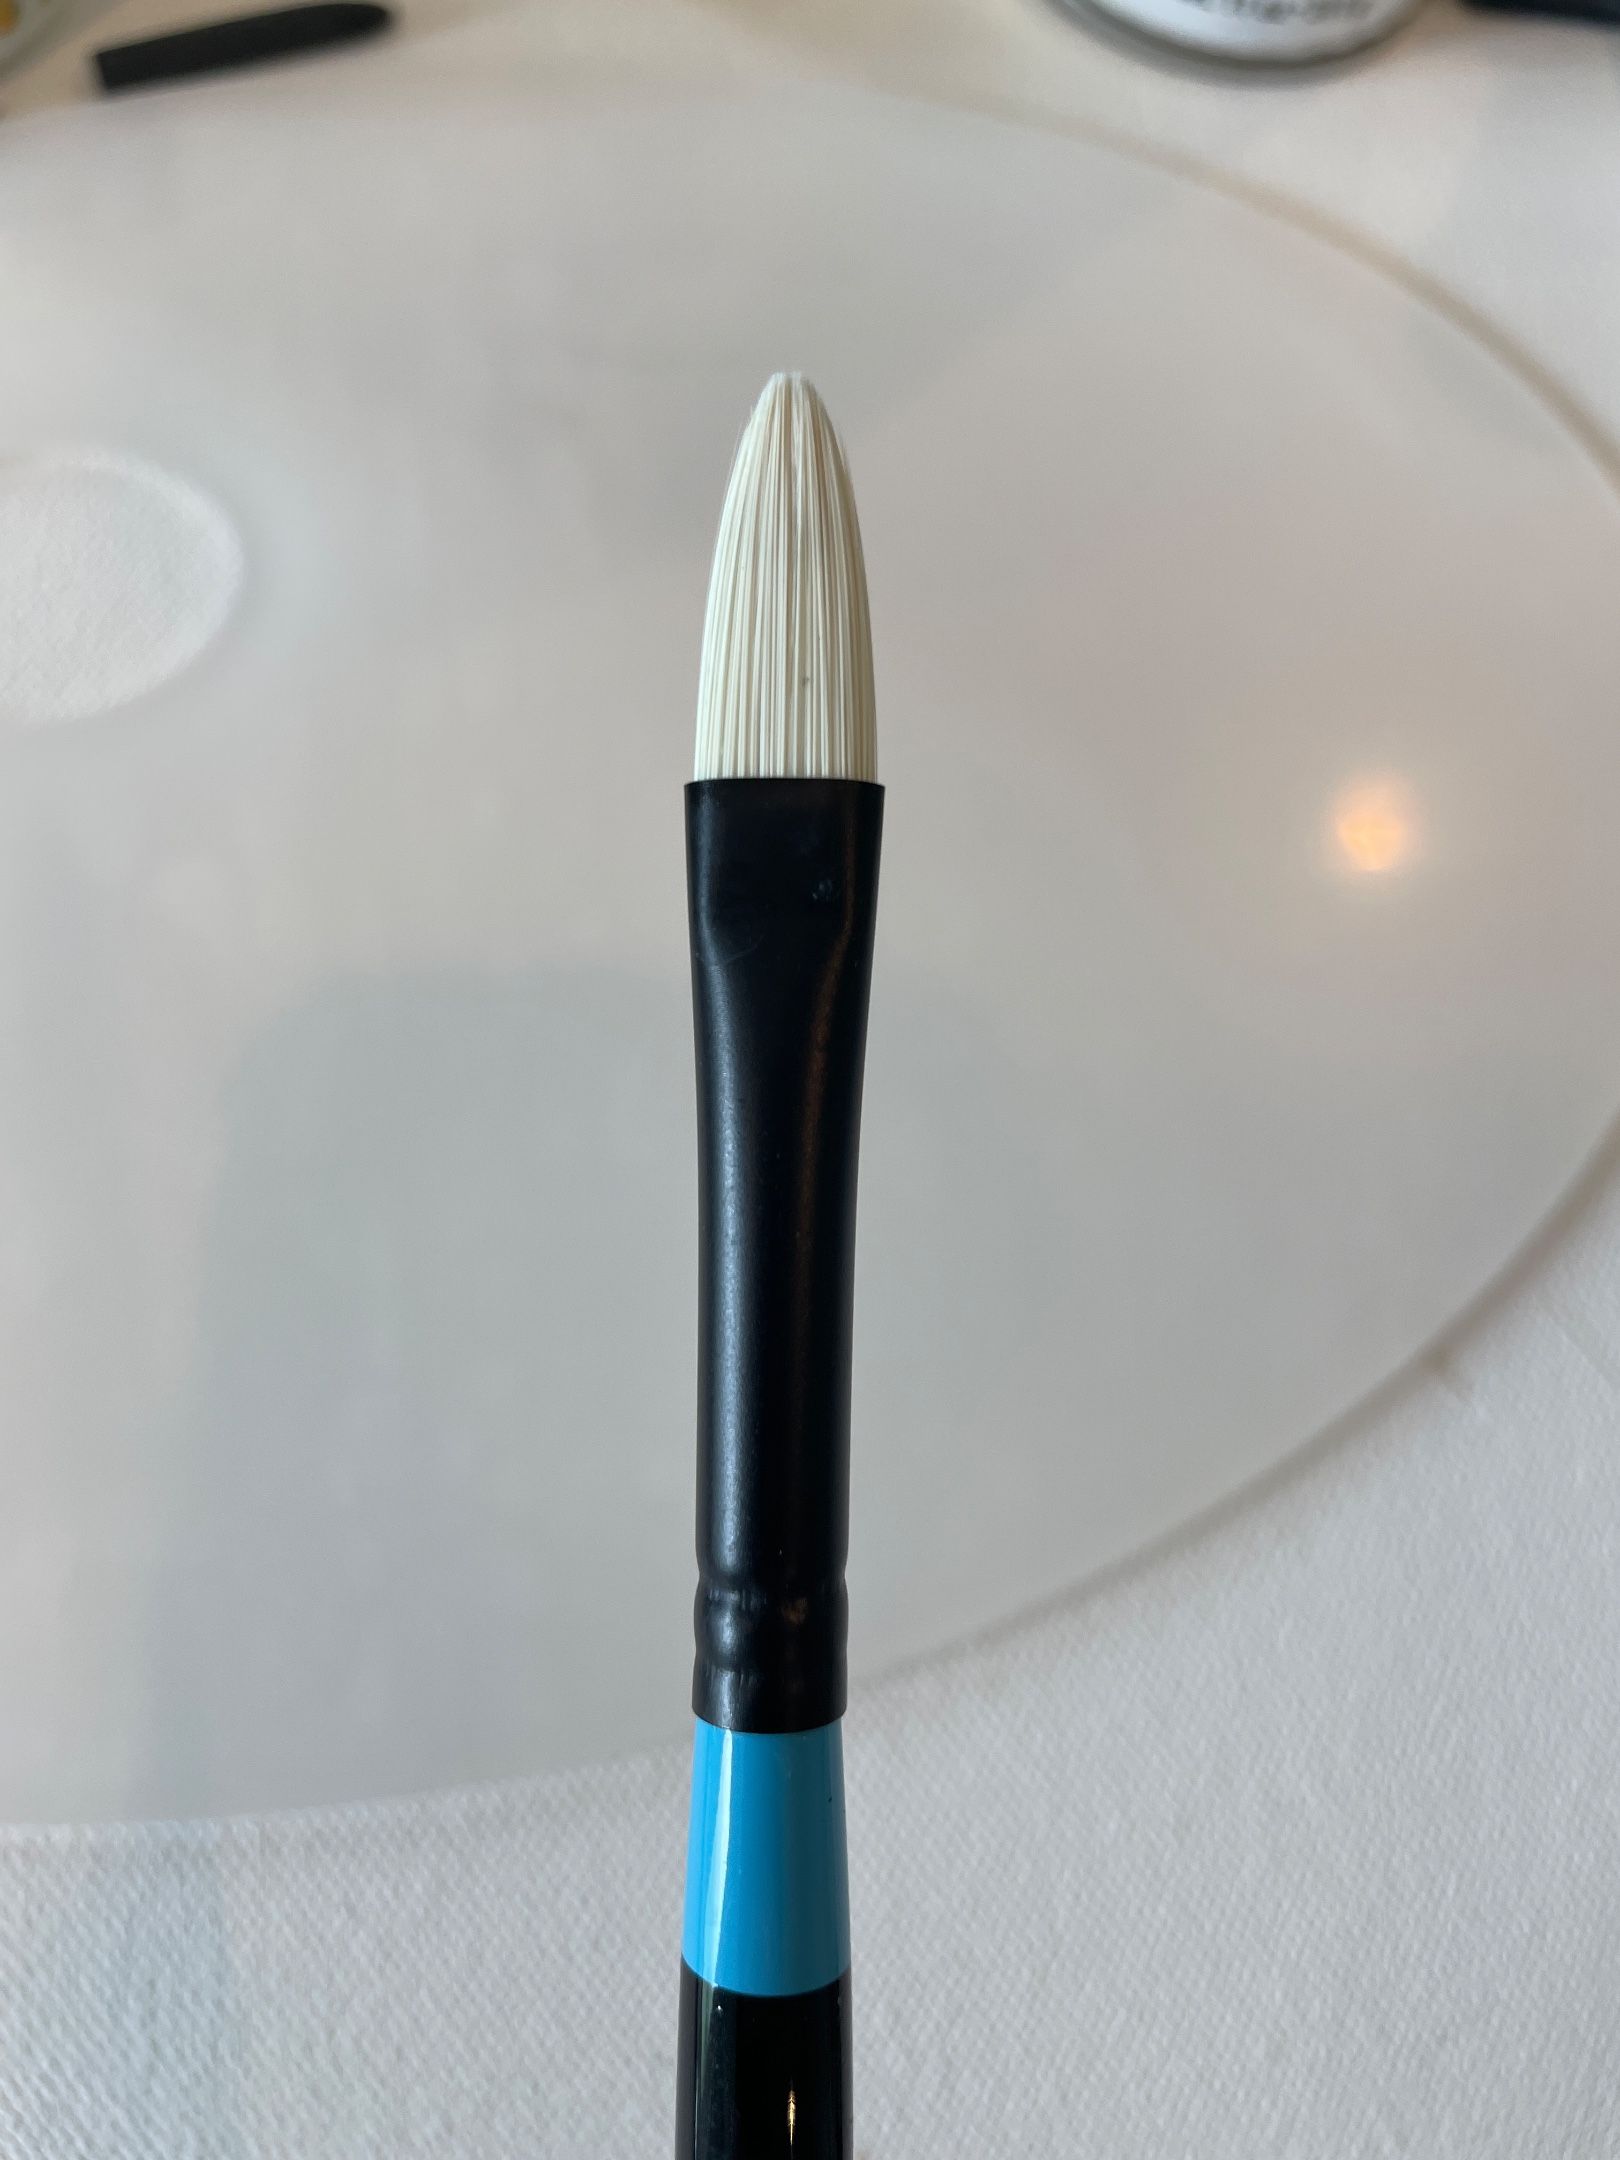
- Filbert Brushes: A hybrid of round and flat brushes, filbert brushes have a rounded tip that allows for both detailed work and broader strokes. It probably is the most versatile of all brushes.
The Brush Materials
- Synthetic vs. Natural Bristles: Brushes can have either synthetic or natural bristles. Natural bristles, often made from animal hair, are prized for their ability to hold and release paint smoothly. Synthetic brushes are often cheaper, durable, and can be a cruelty-free alternative.
The Brush Sizes
The size of a brush is determined by its width, with smaller brushes being ideal for intricate work and larger brushes for covering more substantial areas.
The size 0 is the smallest, great for painting hairs and the smallest details.
The bigger the number is, the bigger the size of the brushes will be.
I like to use a big Bright shaped brush to lay down the background and the first layer of thin and flat paint. Then progress to smaller brushes as I build up my painting.
Why You Should Avoid Mix Brushes Between Different Mediums
.Here are some key reasons why artists typically do not mix brushes between different mediums:
- Contamination: One of the primary concerns is contamination of the brush and the resulting impact on the artwork. Residue from one medium can remain on the brush even after cleaning, leading to unintended color mixing or undesirable effects when switching to another medium.
- Medium Compatibility: Brushes are designed and manufactured to work optimally with specific mediums. Watercolor brushes, for example, are typically made with soft bristles that hold water and pigment, making them unsuitable for use with thicker mediums like oil paint, which requires stiffer bristles to handle the consistency of oil paint.
- Medium-Specific Effects: Different mediums require brushes with specific characteristics to achieve desired effects. For instance, acrylic brushes often have synthetic bristles designed to withstand the harsh chemicals and fast-drying nature of acrylic paints, while oil brushes have natural bristles that work well with the slow-drying and viscous properties of oil paints
- Longevity and Durability: The compatibility between brushes and mediums also affects the longevity and durability of the brushes. Using a brush with a medium it’s not designed for can lead to premature wear and damage to the brush. And you will not want to ruin your favorite brush because of this reason!
- Artistic Precision: Artists often develop a familiarity and preference for specific brushes for their chosen medium and style. Mixing brushes between different mediums can disrupt this familiarity and make it challenging to achieve the level of precision and control they desire.
My Favorite Paintbrush Brand:
My favorite brands are Princeton, Silver Brush, and Rosemary Co.
How to Properly Clean Paintbrushes
Properly cleaning brushes is essential to maintain their longevity and ensure they perform well in your artistic endeavors. Here’s a general guide on how to clean brushes effectively:
Materials Needed:
- Water: For water-based paints like watercolors or acrylics, you’ll need water for cleaning.
- Solvent or Paint Thinner: If you use oil-based paints like oil paints or alkyds, you’ll need an appropriate solvent or paint thinner. Common options include mineral spirits or odorless turpentine.
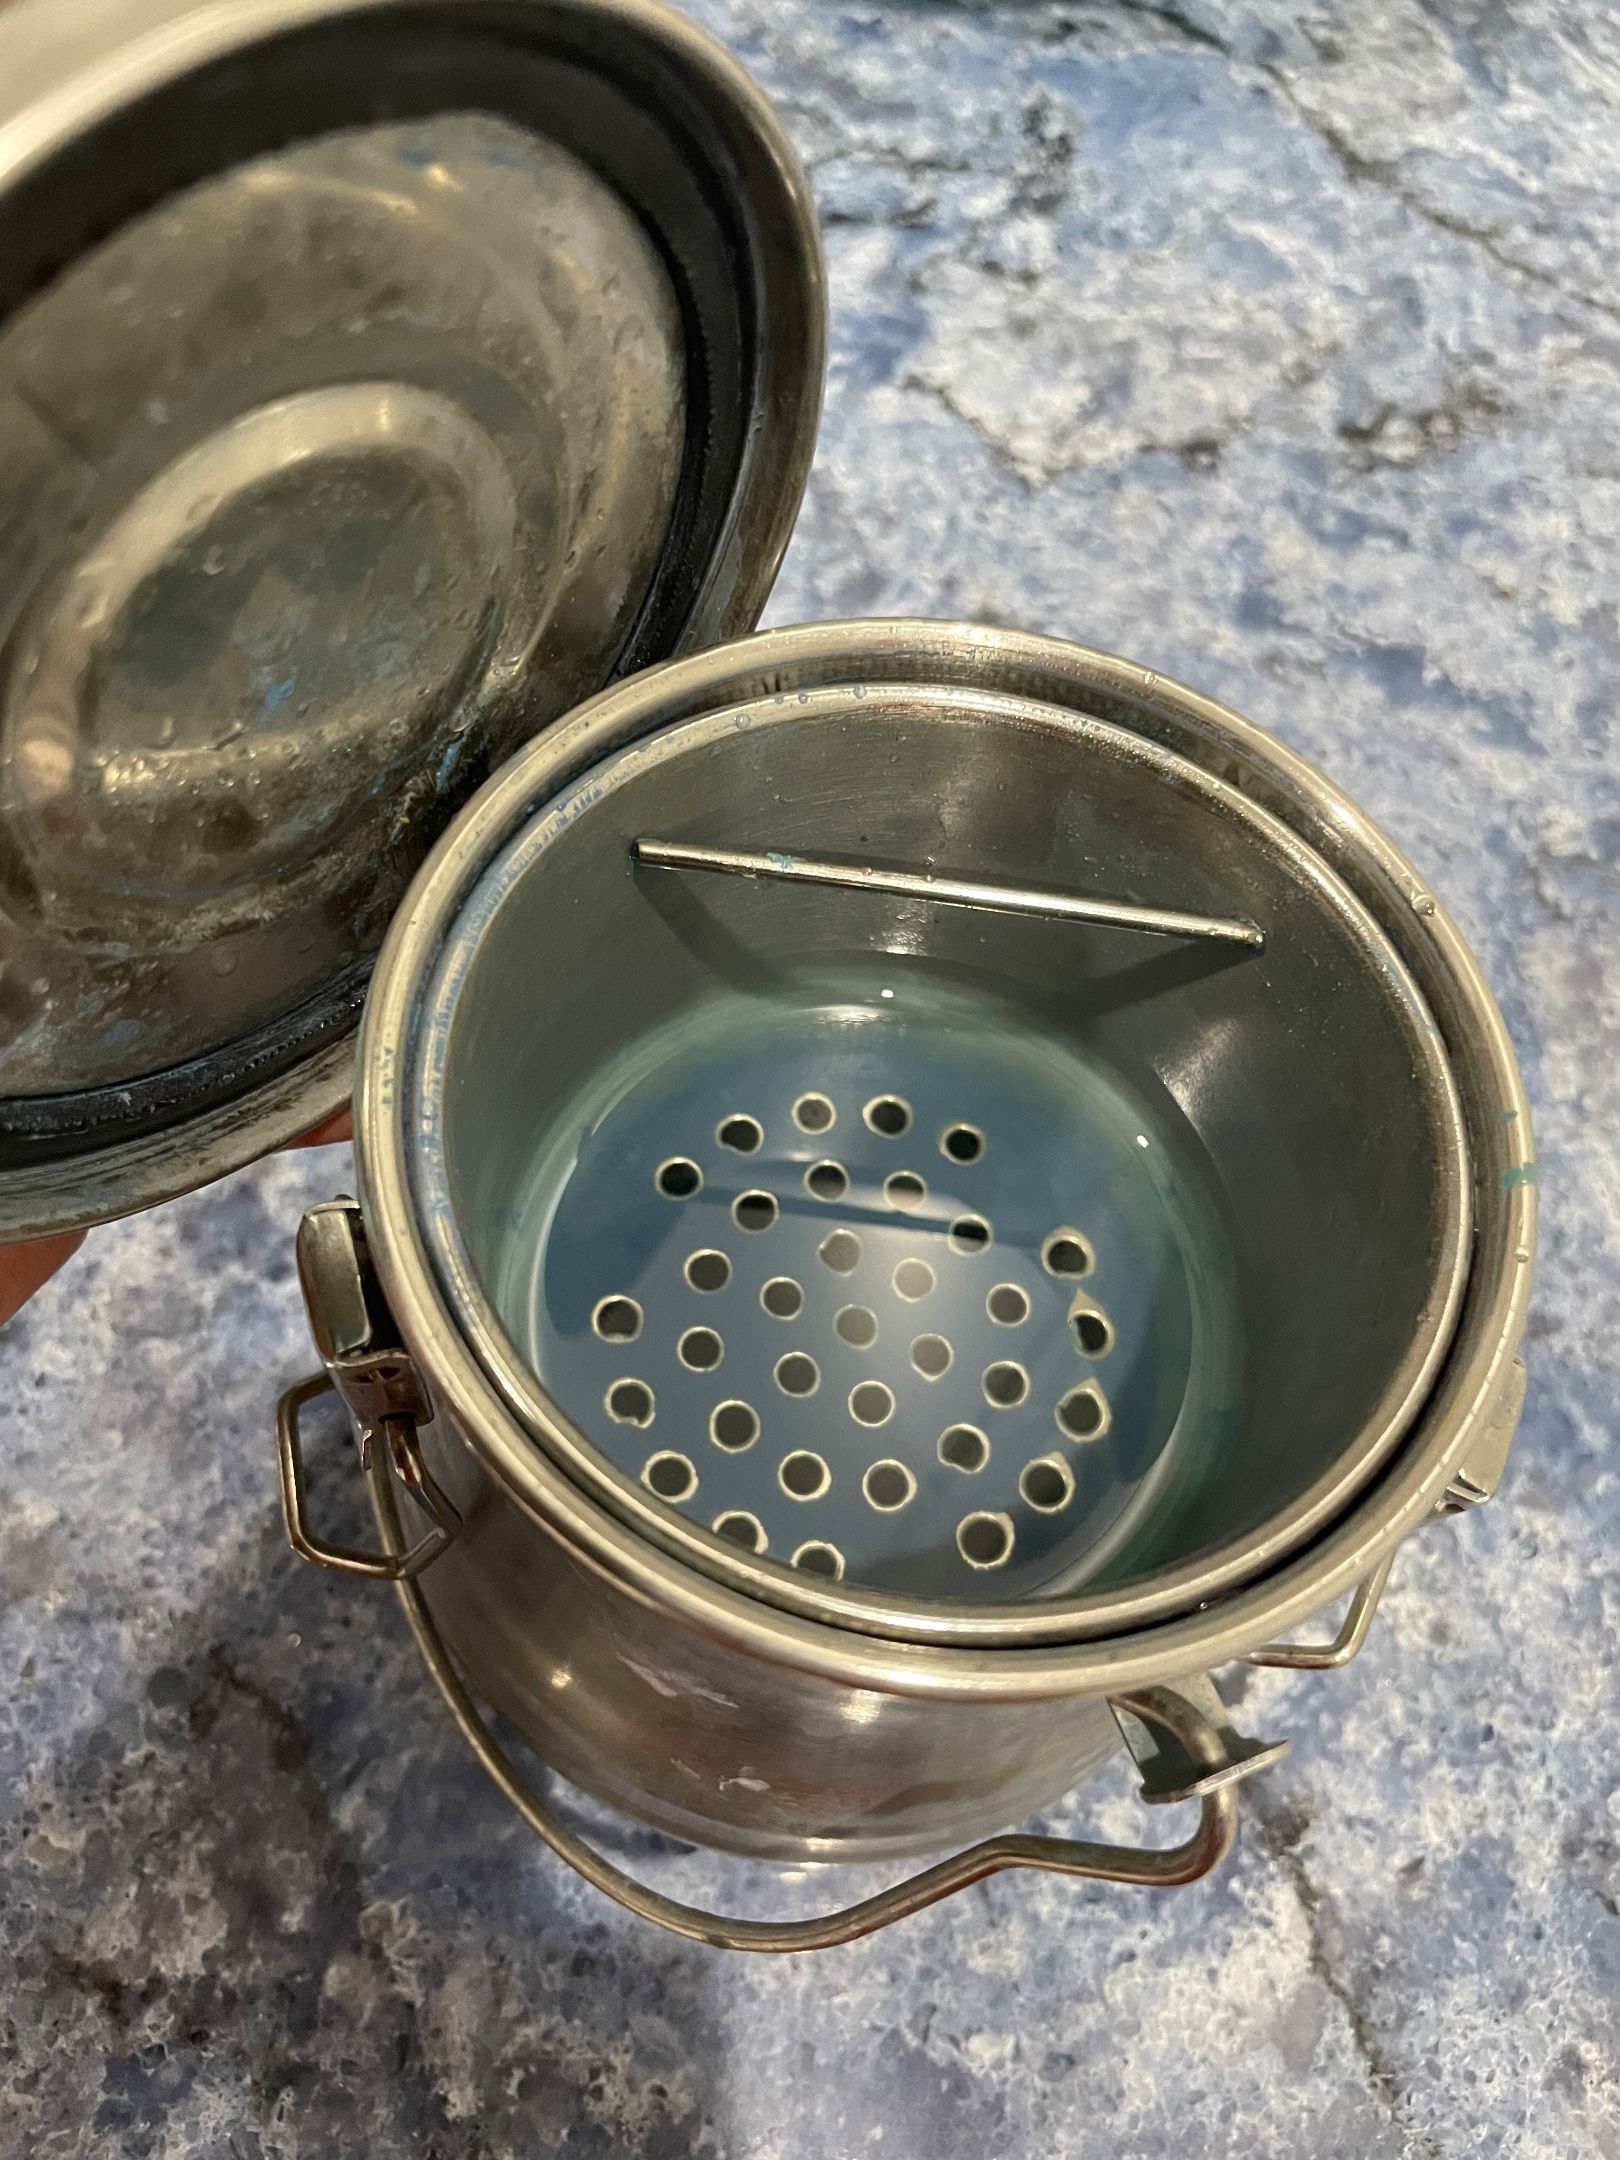
- Container for Cleaning: Use a container, such as a jar or a cleaning basin, to hold the cleaning solution. I use a stainless steel cleaner with tight seals. There is also a removable trainer cup inside it so the residue from paints will filter to the bottom.
- Paper Towels or Rags: These are handy for wiping excess paint and solvent from the brushes.
Cleaning Process:
- Remove Excess Paint: Before cleaning, gently wipe excess paint off the brush using a paper towel or rag. This step minimizes the amount of paint that needs to be cleaned in the solvent or water.
- For Water-Based Paints(Acrylics/Watercolors):
- a. Rinse the brush under running water to remove any remaining paint.
- b. Swirl the brush in a container of clean water, gently agitating the bristles to release the paint.
- c. Repeat the process until the water runs clear and there’s no more paint coming off the brush.
- d. Gently reshape the brush to its original form.
- For Oil-Based Paint
- Although Oil paints need more elbow grease and steps to clean than acrylics, but with proper care, your brushes will last a very long time!
- First, swirl the brush in a container with the appropriate solvent or paint thinner. Use enough solvent to fully immerse the bristles without submerging the ferrule (the metal part that connects the bristles to the handle).
- Second, Remove the brush and wipe it on a paper towel or rag to remove loosened paint.
- Repeat the process with clean solvent until the brush is clean.
Reshape and Dry: After cleaning, gently reshape the brush to its original form. Lay it flat to dry, ensuring the bristles are not bent or misshapen. Avoid leaving brushes standing in water or solvent, as this can damage the bristles and the handle.
Additional Tips:
- Avoid using excessive force or harsh chemicals to clean brushes, as this can damage the bristles over time.
- Cleaning your brushes immediately after use can make the process easier and more effective. A couple of times I forgot to clean some of my favorite brushes and left them in my studio overnight, ended up ruining them because they were made of delicate natural animal hair. I hope you don’t repeat my mistakes.
- If you have neglected brushes with dried paint, you may need to soak them in the appropriate solvent or use a brush restorer product to revive them. Follow the manufacturer’s instructions for these products.
Proper brush care and cleaning are essential habits for any artist. By following these steps, you can help ensure your brushes remain in good condition for many years to come!
Let me know if this post is helpful and happy painting!